22.10 Problem Set 8 — Non-photorealistic rendering⧉
22.10.1 Summary⧉
- Render a paintbrush onto an image
- Single-scale painterly rendering
- Importance sampling using rejection
- Two-scale painting
- Orientation computation using the structure tensor
- Two-scale oriented painting
- Paper review (6.865)
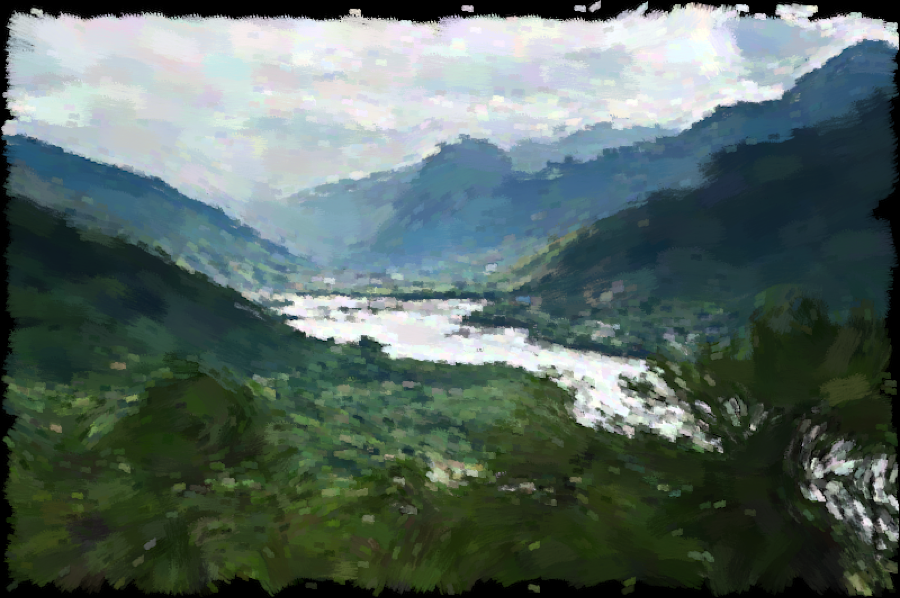
In this assignment, we will take photographs as input and turn them into a painterly rendition. We will stochastically splat brush strokes on the image, varying the size, angle, and density of strokes. Below is an example of the type of rendition we will generate.
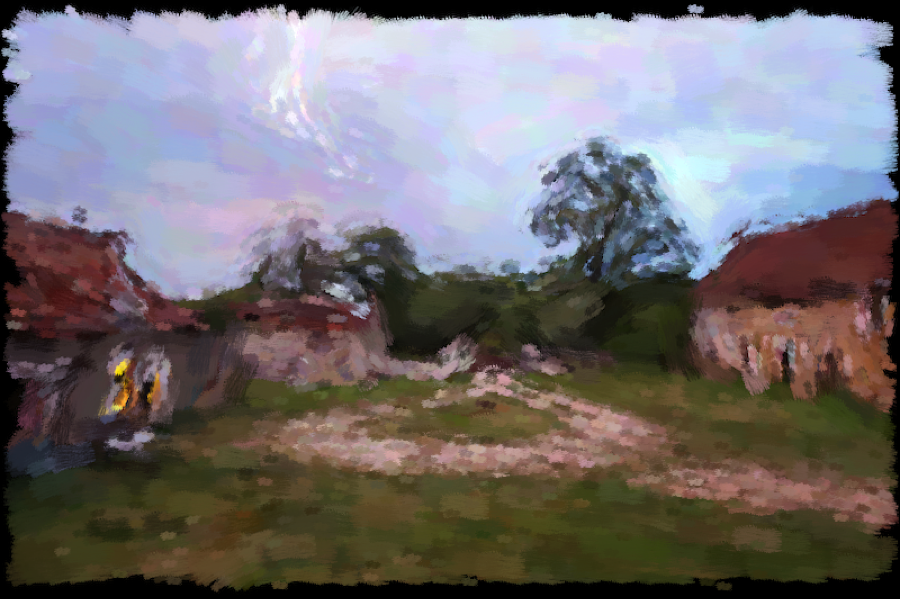
In a nutshell, we generate random locations $x, y$, read the color in a reference photograph, and splat a small image of a brush stroke at this location in the output image. We modulate the size and orientation of the brush strokes to make things more interesting.
22.10.2 Paintbrush splatting⧉
Write a function void brush(Image &im, int x, int y, vector<float> color, const Image &texture) that takes as input image im and draws ("splats") a single brush stroke centered at x, y. The appearance of the brush is specified by an opacity texture and a 3-vector color. To avoid boundary problems, ignore cases where x and y are closer that half of the texture size away from the image boundary. This will also give you the nice rough edges shown in the above image.
texture is a regular 3-channel image that specifies the opacity at each pixel. It will be greyscale (all three channels are the same) in practice. An opacity of zero means that the pixel is unaffected, and 1 means that the pixel is updated with color. For values between 0 and 1, the output is a linear combination of the original value and color.
Test your image with a few brush locations and the provided brush.png file.
22.10.3 Painterly rendering⧉
Single scale⧉
Write a function void singleScalePaint(const Image &im, Image &out, const Image &texture, int size, int N, float noise) that mutates the out image by splatting a paintbrush at random location.
First, scale the texture image so that it has maximum size size. Use the provided scaleLin function or your own method. For each of N random locations ($x, y$) splat a brush in your output image using the above function. Generate random locations using rand() The color of the brush should be read from im at ($x, y$). To make things more interesting, modulate the color by multiplying it by a random amount proportional to noise. We recommend multiplying by (1-noise/2+noise*rand()).
(This should run fast: it should take under 5 minutes even for N=10,000. If your code is running too slowly, make sure you're not iterating over the entire image in your implementation of brush.)
Importance sampling with rejection⧉
We will vary the density of strokes according to an importance map importance, which is encoded as a regular image where all 3 channels are the same. We want the density of the strokes to be proportional to this map. The simplest way to do this is to use rejection sampling. For this, you reject samples with a probability proportional to importance(x,y). Draw a random number using rand() and reject the sample if this random draw is greater than importance(x,y). Note how samples are always accepted when importance is 1, always rejected when it's 0, and in general, accepted with a probability equal to the importance value.
Since we reject a number of samples, we do not splat the required N strokes. In order to fix this, multiply N by a normalization factor based on the average probability of accepting samples. You can also use a while loop, but it involves less probabilistic calculation and is therefore less fun.
Write a function void singleScalePaintImportance(const Image &im, const Image &importance, Image &out, const Image &texture, int size, int N, float noise) that creates a rendering by taking the importance parameter into account and debug it using some importance map of your choice.
Two-scale painterly rendering⧉
We will now create a simplistic rendering with two different passes. In the first pass, we will use brushes of size size, and in the second pass, brushes of size size/4. The first pass should use a constant importance map and the second finer pass will only add strokes where the image has strong high frequencies, as indicated by a sharpness map.
Fill in the function Image sharpnessMap(const Image &im, float sigma) that returns a sharpness map for Image im. To obtain the sharpness map, you first should apply a Gaussian blur with standard deviation sigma to the luminance of the image. Then obtain the high frequencies by subtracting the blurred luminance from the original luminance. Then square the high frequency image, and then apply a Gaussian blur with standard deviation 4*sigma, and then divide by the maximum value.
Implement a function void painterly(const Image &im, Image &out, const Image &texture, int N, int size, float noise) that mutates out to become a painterly rendering of im where a first layer of coarse strokes is used, followed by a refinement with smaller strokes in regions of high detail. Your function should use singleScalePaintImportance.
22.10.4 Oriented painterly rendering⧉
We now seek to orient the stroke direction according to the content of the input image. For this, we will rely on the structure tensor used for Harris corner detection. The structure tensor is better than the gradient for this purpose.
Orientation extraction⧉
We know that the structure tensor characterizes how much an image changes in all directions. The eigenvectors of the structure tensor indicate the directions of maximum and minimum variation. We want to align our strokes along edges and oriented structures, which means that they should follow the smallest eigenvector. We will first experiment with orientation extraction before using it for our painterly rendering.
Use computeTensor(const Image &im, float sigmaG=1.0f, float factor=4.0f) from Pset7 to extract a structure tensor at a slightly large scale. Use Eigen::EigenSolver<Matrix> to extract the eigenvectors and compute the angle of the smallest one with respect to the horizontal direction. The function atan2 might come handy.
Debug your function by applying it to all the pixels in the image round.png.
Write a function Image testAngle(const Image &im, float sigmaG=3.0f, float factor=5.0f) that extracts the orientation of the features in the image. For visualization purposes, the angles should first be wrapped to [0, $2\pi$] and then mapped to [0,1]
Figure below shows the expected output for round.png. Note that the eigenvectors are defined to a sign, and that the orientation of an edge or structure is equivalently defined up to $\pi$. The extracted orientation should be in [0, $2\pi$].
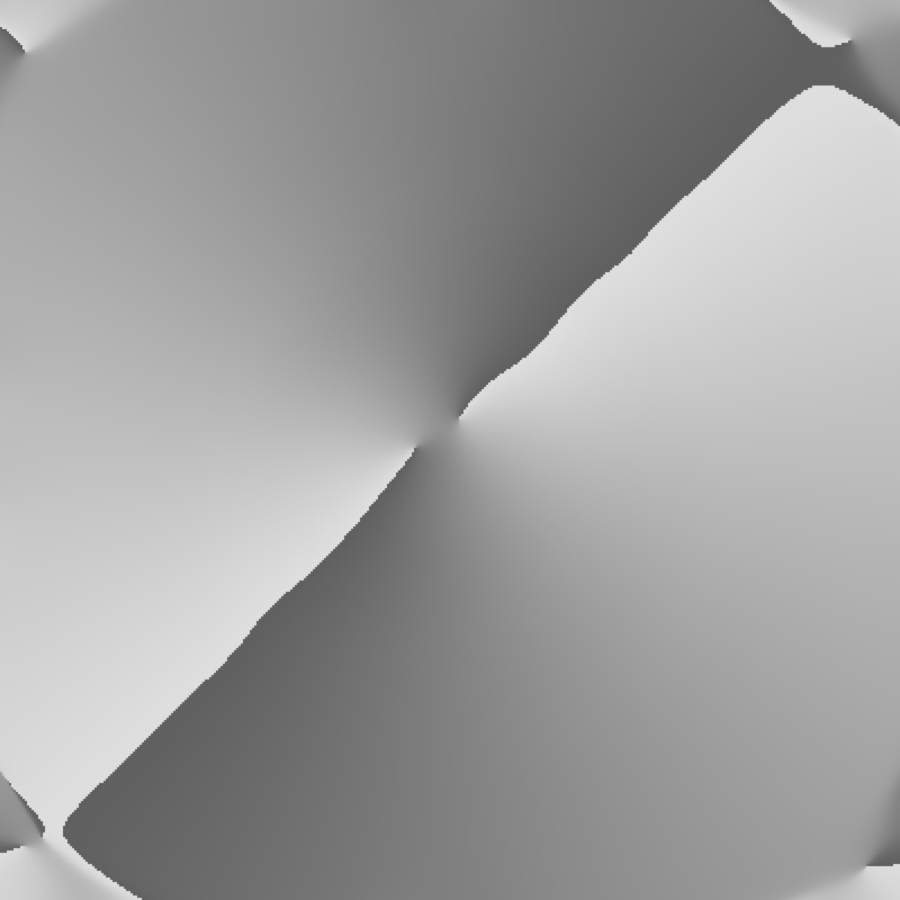
round.png.Single-scale⧉
Write a function void singleScaleOrientedPaint(const Image &im, const Image &importance, Image &out, const Image &tensor, const Image &texture, int size, int N, float noise, int Angles) that behaves similarly to the non-oriented version, except that brush strokes are oriented according to the provided tensor map.
For this, we encourage you to fill in helper function vector<Image> rotateBrushes(const Image &im, int nAngles) which takes as input a single texture and returns a list of nAngles textures rotated by $i 2\pi/n$.
Two scale⧉
Write a function void orientedPaint(const Image &im, Image & out, const Image &texture, int N, int size, float noise) that mutates out into a painterly image where strokes are oriented along the directions of maximal structure. Use a two-scale approach as above. You can use the same structure tensor for both approaches.
Debug your function by applying it to round.png.
22.10.5 Your image⧉
Apply the function of your choice to your own input.
22.10.6 Paper Review (6.865 only)⧉
Unlike the previous psets, it's going to be all reading and writing. Your job is to review a recent publication in computational photography. This will hopefully give you some more insight into the review process that these papers go through.
You should select one paper from the provided papers.html file (if the link is dead, search for the paper on Google), or a computational photography paper from the SIGGRAPH lists here: <http://kesen.realtimerendering.com/>. If there's another relevant paper that you're particularly interested in reading, ask us about it and we'll probably be okay with it (unless it's something that you're already supposed to read for one of the problem sets). If you're not sure if a particular SIGGRAPH paper falls under computational photography, feel free to ask us on piazza.
You should use the SIGGRAPH review form, available at the following URL: <https://sa2018.siggraph.org/en/submitters/technical-papers/review-form>. For "Explanation of Rating", try to come up with at least one outstanding question that you think the authors didn't address in the paper. You can skip the "Private Comments". Try to be thorough! Probably a paragraph or two for each question, and more for "Explanation of Rating".
One final note: don't be compelled to like a paper because it was already published. Every paper has some shortcomings. Maybe the method is very elegant and general but doesn't end up producing very impressive results. Maybe the results are spectacular, but the method itself has some mathematical holes. Maybe everything seems great, but there just aren't enough details to reproduce the results. It's up to you as a reviewer to weigh the strengths and weaknesses of each paper
Include your paper review as an ascii text file called paper_review.txt in the asst directory of your submission.
See the text for details on what should be included. In addition please add paper title, authors, venue, year and valid link.
22.10.7 Extra credits⧉
For any extra credit you attempt, please write a new test function in your main file, and include the name of the test function in the submission questionnaire. This is a requirement for getting the extra credit.
Relaxation. Treat the painterly rendering as a stochastic process and optimize for the output painting to match an input photograph over a certain number of iterations. <https://dl.acm.org/doi/pdf/10.1145/97880.97902>, Haeberli 1990.
Curved brush strokes. Create brush strokes using a Bézier curve spline. <https://dl.acm.org/doi/pdf/10.1145/280814.280951>, Hertzmann 1998.
Adjustments for brush thickness and length. Add a UI or a heuristic to account for brush thickness and length. <https://people.csail.mit.edu/fredo/PUBLI/Drawing/drawing.pdf>, Durand et al 2001.
Stained glass images. Use a voronoi diagram to create stained glass images. <https://diglib.eg.org/bitstream/handle/10.2312/egs20021036/short75.pdf> Dobashi et al 2002.
Deep Learning. Use deep learning to create painterly renders. <https://arxiv.org/pdf/2108.03798.pdf>, Liu et al 2021.